-–убрики
- Ћюди (104)
- ћир через улыбку (63)
- ¬олшебный мир (48)
- ћечта (35)
- —трашное (30)
- - ѕтички - (28)
- —транности (28)
- ѕрофессиональное страдание фигней (23)
- –азмышлени€ об одиночестве (20)
- отэ (19)
- √ород (19)
- Ѕесит (12)
- ино (11)
- ѕсихологи€ (2)
- —тиль (11)
- ¬ещицы (41)
- стихи (53)
- ниги (26)
- ћузыка (26)
- »нтерьер (2)
- ћо€ сказка (3)
- ÷итаты (10)
- Ћичное (86)
-ћетки
-÷итатник
вантовый ѕереход в Ёру ¬одоле€ Ќет ничего сильнее идеи, врем€ которой пришло ≈диницы р...
-€ звезда-)))) - (2)14 июл€. € прошу прощени€ что с задержкрй, не оплачен был интернет. my dear Daria поздр...
100+ бесплатных выкроек сумок/ пошаговые инструкции.Ўвейные - (0)100+ бесплатных выкроек сумок/ пошаговые инструкции.Ўвейные Ѕолее чем 100 свободных образ...
сумка из сплошного куска ткани - (0)Ўьем сумку из сплошной полосы. ћини ћ јвтор DONATELLA &...
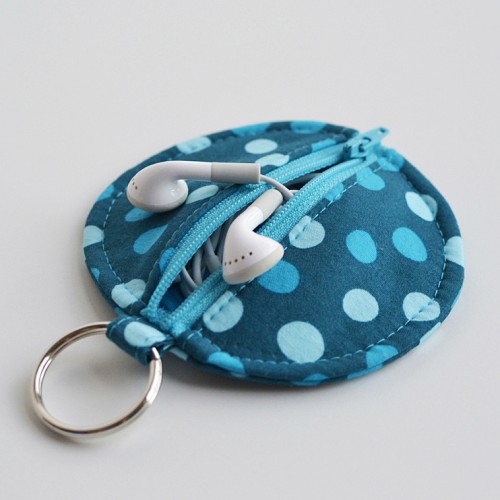
карманчик дл€ наушников - (0)„ехольчик дл€ наушников (ћастер-класс) »—“ќ„Ќ» http://erinerickson.com/2011/11...
-¬идео

- јффинаж - —амый (ковЄр)
- —мотрели: 1 (0)

- ‘едор —варовский _мне сказали
- —мотрели: 0 (0)

- - ƒаша, какой сегодн€ день? -
- —мотрели: 709 (12)

- јнимаци€ на гончарном круге
- —мотрели: 12 (1)

- - мой первый клип в видео редакторе -
- —мотрели: 28 (0)
-—сылки
-ћузыка
- - “ы мен€ не любишь, не жалеешь.. —.≈сенин-
- —лушали: 1329 омментарии: 7
- Apocalyptica Feat Guano Apes - Path
- —лушали: 67 омментарии: 0
- beck-Nausea
- —лушали: 20 омментарии: 0
- Ѕлины по-снайперски, Ќочные снайперы
- —лушали: 19 омментарии: 0
-ѕоиск по дневнику
-ѕодписка по e-mail
-»нтересы
-ƒрузь€
-ѕосто€нные читатели
-—ообщества
-—татистика
карманчик дл€ наушников |
»—“ќ„Ќ»
http://erinerickson.com/2011/11/circle-zip-earbud-pouch-tutorial/
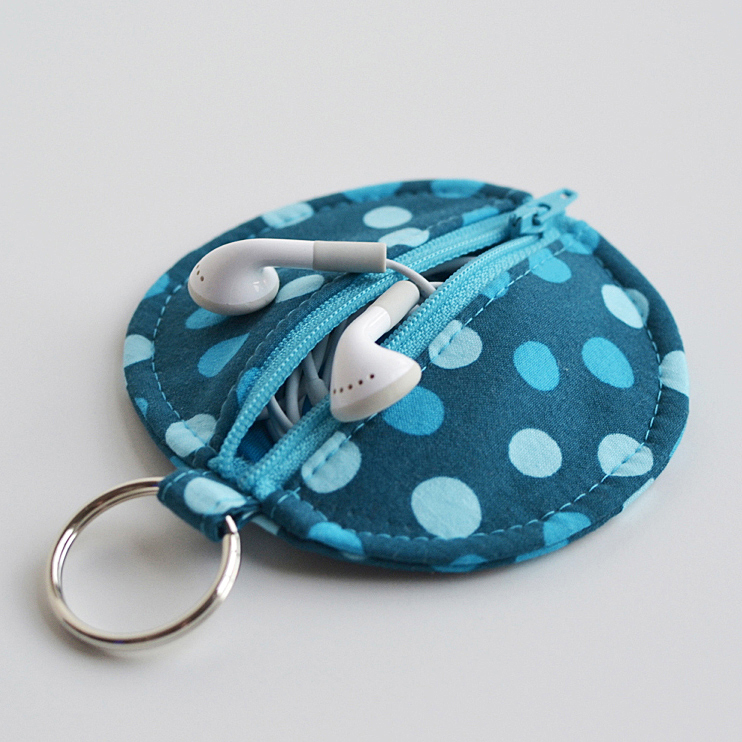
First, download the pattern file HERE.
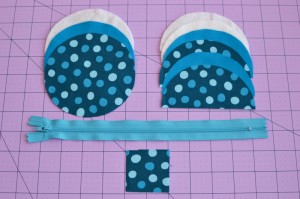
Cut from main fabric:
1 circle
2 half circles
1 tab
Cut from lining fabric:
1 circle
2 half circles
Cut from batting (or medium weight interfacing, if you prefer):1 circle
2 half circles
You will also need a 1″ wide nylon 5″ or longer zipper.
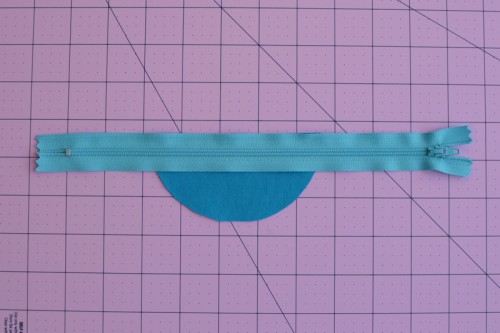
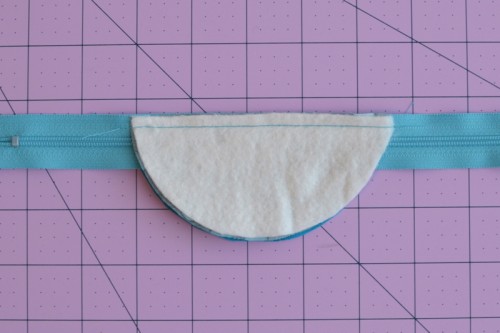
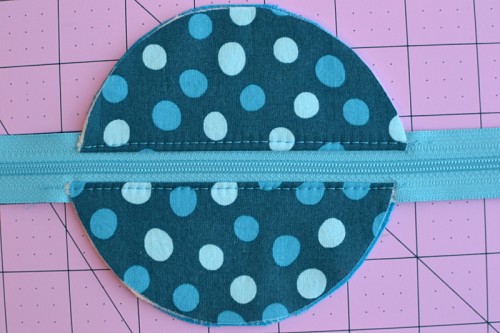
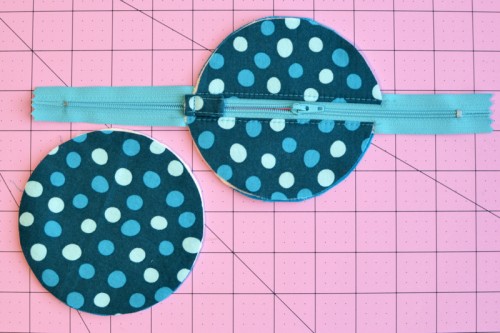
Place one lining half circle right side up and place the zipper right side up on top. Align top edges.
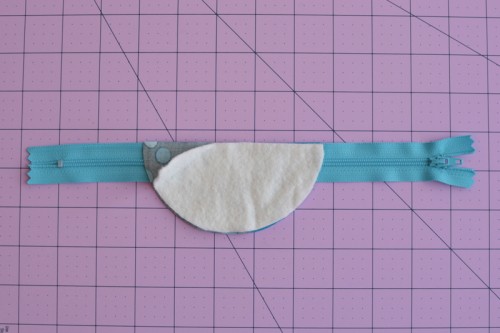
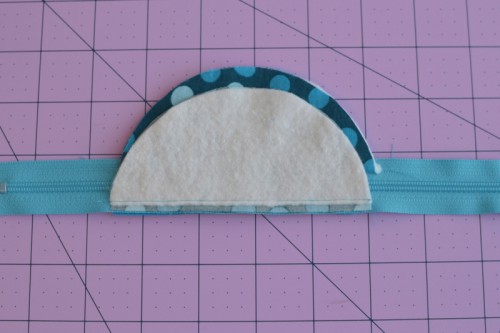
Place a main fabric half circle wrong side up (right side together with the zipper). Place batting on top.
Sew with a 1/4″ seam allowance. It’s important to use a 1/4″ SA here because the zipper is 1″ wide, and if we use two 1/4″ seam allowances we are subtracting 1/4″ from each half circle but adding 1/2″ in the middle of the zipper. Perfect!
Fold back and repeat with the other side. Then trim the batting as best you can without cutting into the fabric.
Fold everything back and press well.
Make sure the back side is away from the zip as well.
Topstitch 1/8″ away from the edge with a longer stitch length.
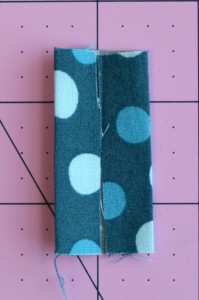
Now make the tab for the side. Fold the tab in fourths – Fold the edges to the center and then fold in half and topstitch.
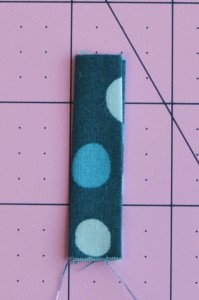
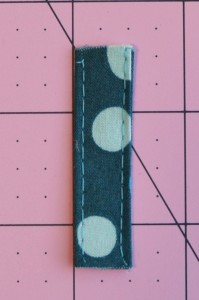
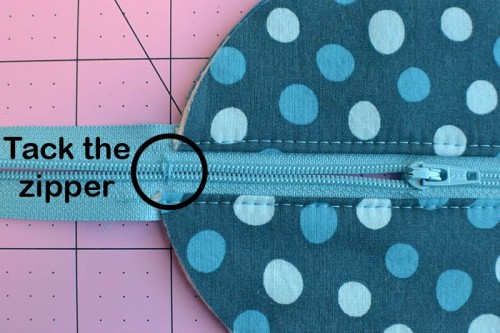
Now unzip the zipper part way and “tack” the zipper closed at the edge of the circle.
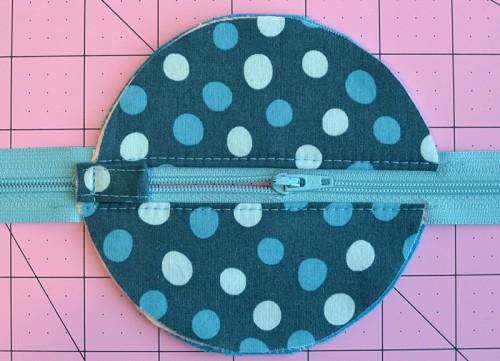
Fold the tab in half and place it with the raw edges towards the outside of the circle, folded edge in, right over the zipper and sew it at the same spot where you tacked the zip.
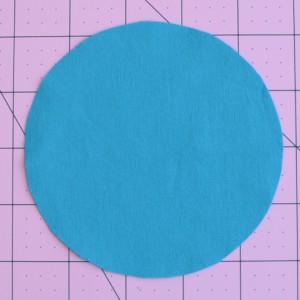
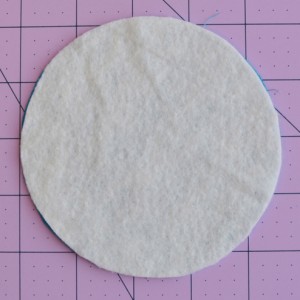
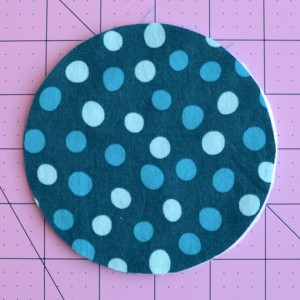
Now you need to place the circle pieces wrong sides together with the batting in the middle. Place the lining circle wrong side up. (I’m using solids so it doesn’t matter, but if you are using a print, place it right side DOWN, wrong side up.) Place the cotton batting on top. Place the main fabric circle on top of that. Like a quilt sandwich. It’s so small you don’t really need to pin. If you used fusible interfacing in place of batting, just place the two fabrics wrong sides together.
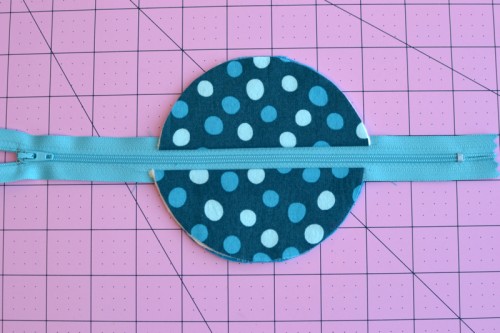
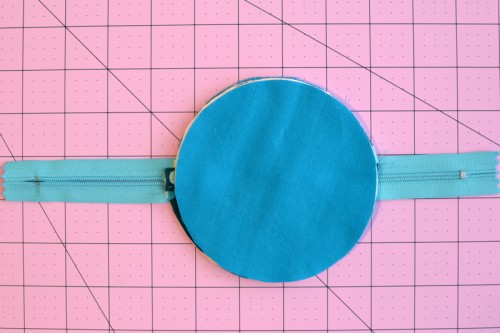
You should now have these two pieces. Make sure the zipper pull is IN THE MIDDLE of the circle. You don’t want to end up cutting it off!
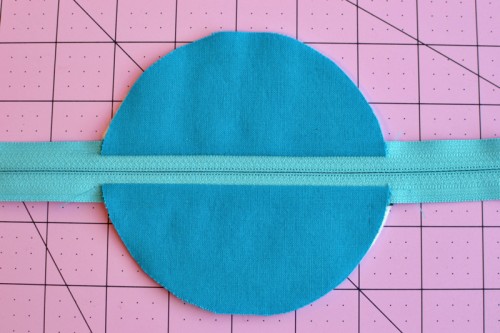
Flip the full circle piece over on top of the piece with the zipper, right sides together. (Now, if I was showing you how to do this the “right” way, I would tell you to baste with a 1/8″ seam allowance around the outsides first. But this is a small pouch, and it will be fine if you don’t baste. Plus, it’s just for fun. Not basting also makes it easier to trim the batting after sewing!)
Time to sew! Start anywhere on the circle and sew all the way around with a 3/8″ seam allowance.
Since we didn’t use interfacing AND we are sewing in a circle, you might get some puckering (fusible interfacing helps keep the fabric stiffer so it doesn’t pucker as much.) It’s OK. Just lift up the presser foot every few stitches, pivot, smooth out the pucker and keep sewing.
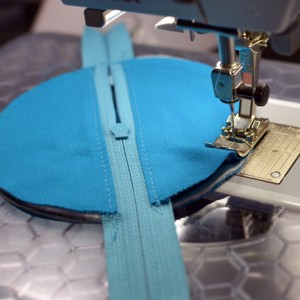
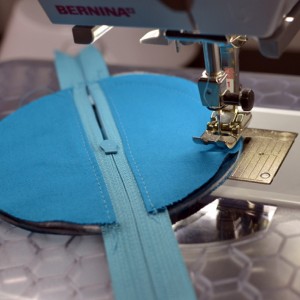
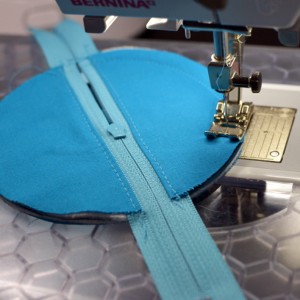
Since there won’t be a ton of reinforcement at those zipper edges, I like to stitch across them a couple times. Just hit your backstitch button a couple times, taking a few stitches across them back and forth.
—ери€ сообщений "¬ещицы":
„асть 1 - мои мелочи
„асть 2 - - ѕрикольные чашечки-
...
„асть 35 - - ѕодарок на Ќовый год -
„асть 36 - - укла ƒаша? -
„асть 37 - карманчик дл€ наушников
„асть 38 - сумка из сплошного куска ткани
„асть 39 - 100+ бесплатных выкроек сумок/ пошаговые инструкции.Ўвейные
„асть 40 - - а почему бы и нет -
„асть 41 - -»деи на творческие выходные -
ѕонравилось: 1 пользователю
| омментировать | « ѕред. запись — дневнику — —лед. запись » | —траницы: [1] [Ќовые] |


